The process of digital storytelling enables students to tell their stories with a compelling and competitive voice.
Tutorials/Screen Casts
Tutorial 1 Beginning the digital storytelling process, corresponds to pages 1-2 of the tutorial handout.
Tutorial 2 Removing black borders from images, corresponds to page 3 of the tutorial handout.
Tutorial 3 Adding text to a title slide or image, corresponds to page 4 of the tutorial handout.
Tutorial 4 Adding your voice narration.
Tutorial 5 Customizing motion with Pans
Tutorial 6 Customizing motion with Zooms
Tutorial 7 Fine tuning motion in your digital story
Tutorial 8 Adding transitions
Tutorial 9 Adding background music-mp3's
Tutorial 10 Adding background music-onboard music
Tutorial 11 Finishing Your Digital Story
Group 5/6
* Start by logging into http://www.weebly.com/ -- navigate to your blog page, and create a new entry. Today's entry is: Why is it important for schools, librays, etc to block (filter) some Web sites. Be creative, and think outside of the box here.
* Instruction: Screencast introduction of PhotoStory 3
* Lab: Practice DST by creating a very small show. Lab limitation: we do not have headphones or microphones, yet. Focus on inserting photos, titles, and telling the story.
* You will need to createa folder on your desktop called DST Practice (right click on desktop New Folder Type the name)
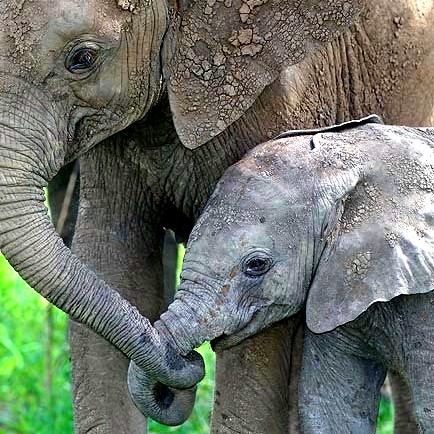
* Save these images to that folder on the desktop (right-click, "Save Picture as"):
* Click on PhotoStory from the desktop, insert the saved photos, and add a "tag line for each story" -- When you are done, you may export it, and then I'd like you try t upload it to your http://www.weebly.com/ as a second blog entry, and add it as an attachment (under multimedia!)
This is my example, silly, but it worked!



No comments:
Post a Comment